Quick answer: A DNS leak happens when domain-name lookups bypass the VPN’s intended DNS path. Testing compares the DNS servers visible before and after connection and checks whether unexpected ISP or local-network resolvers remain.
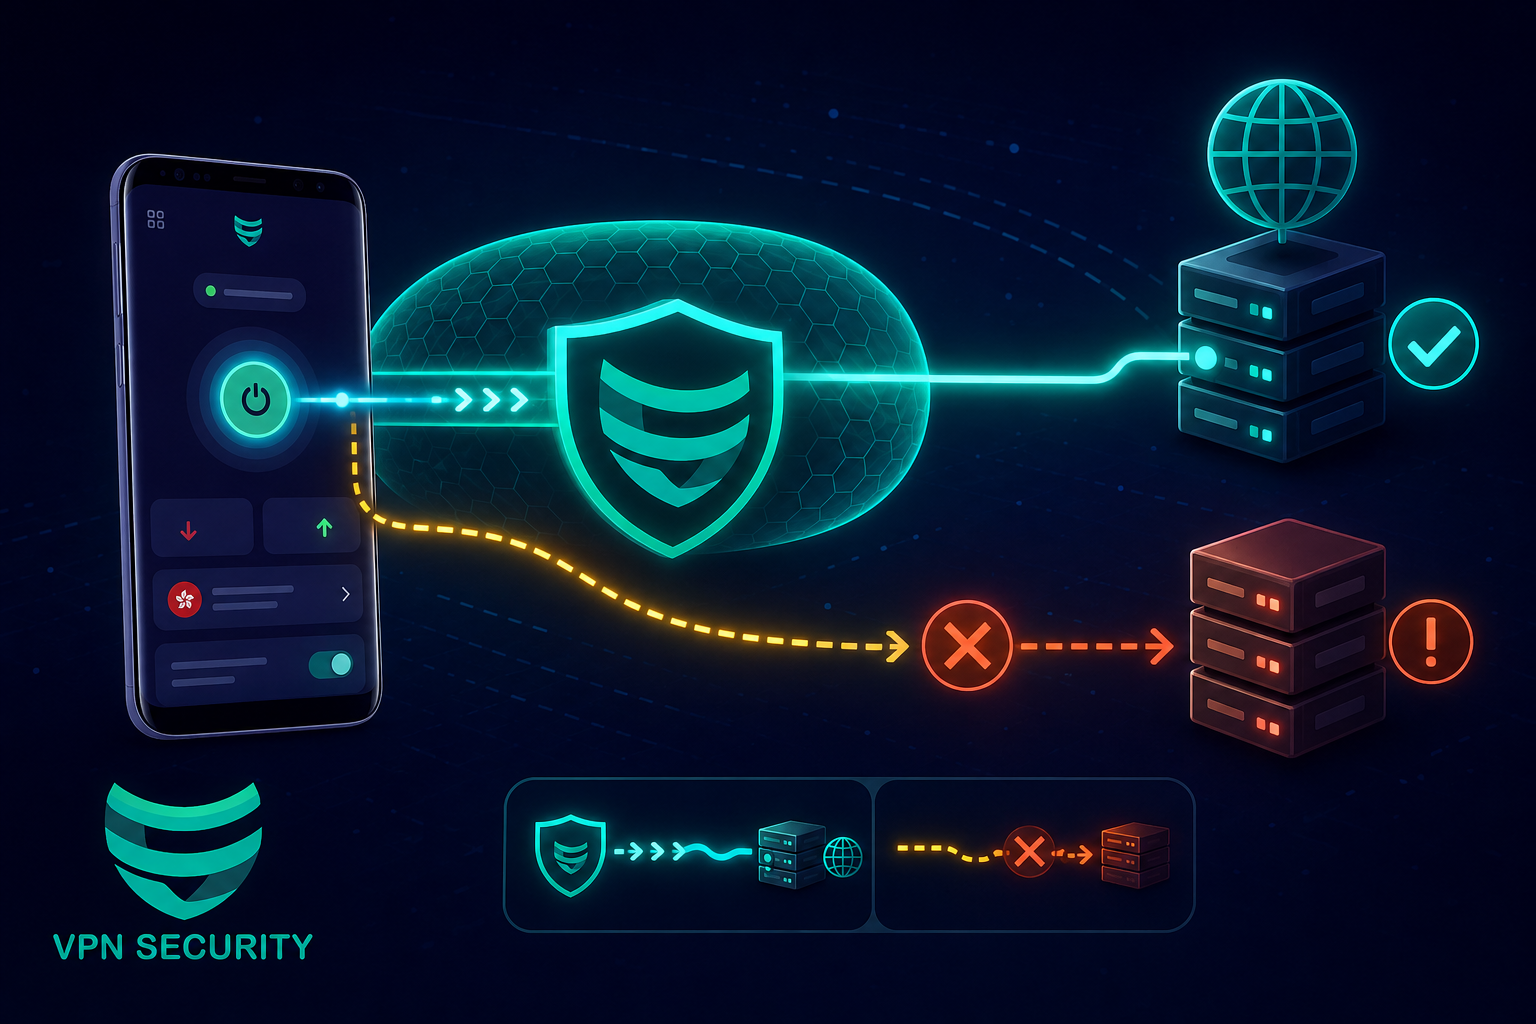
This guide is written for anyone verifying a VPN after setup, travel or network changes. It explains what the tool changes, what it cannot change, and how to get a dependable result without relying on vague privacy promises.
Why DNS leak test matters
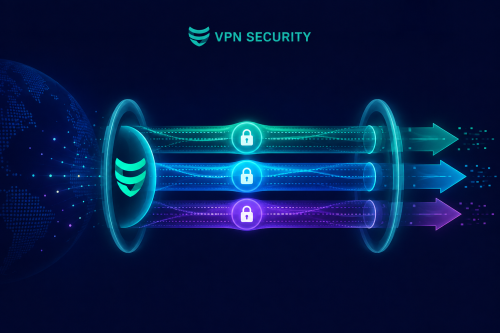
When you connect to the internet directly, the local network and your internet provider handle traffic on its normal route. A VPN creates an encrypted tunnel from your device to a VPN server. Sites then see the server’s public IP rather than the connection’s usual public IP. HTTPS remains essential because it protects the connection between your browser and the destination.
The practical value depends on context. A VPN is particularly useful on networks you do not administer, when you want to reduce local-network visibility, or when an exposed home IP creates an avoidable privacy concern. It does not erase cookies, browser fingerprints, account history or information you intentionally share.
How to set it up correctly
- 1. Record the result before connecting. This creates a clear baseline and makes later troubleshooting easier.
- 2. Connect to VPN Security. Confirm the result before moving on so one change does not hide another.
- 3. Run more than one reputable DNS test. This creates a clear baseline and makes later troubleshooting easier.
- 4. Compare resolver names and countries. Confirm the result before moving on so one change does not hide another.
- 5. Disable conflicting secure-DNS tools temporarily. This creates a clear baseline and makes later troubleshooting easier.
- 6. Retest after changing protocol. Confirm the result before moving on so one change does not hide another.
Make one change at a time and note the result. For performance questions, record download speed, upload speed and latency under comparable conditions. For privacy questions, compare public IP and DNS results before and after connection.
Recommended settings
| Goal | Good starting choice | Reason |
|---|---|---|
| Everyday browsing | Automatic protocol, nearby server | Balances reliability and speed |
| Mobile roaming | Automatic or IKEv2 when available | Handles network changes well |
| Fast downloads | Modern UDP-based protocol | Usually has less transport overhead |
| Restrictive network | Try TCP if UDP fails | May work where UDP is filtered |
Common mistakes to avoid
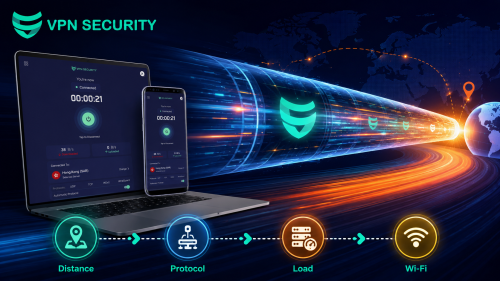
- Choosing the farthest server by default. Extra distance usually adds latency.
- Stacking multiple VPN or security tunnels. Competing network filters can cause slowdowns and disconnects.
- Ignoring the connected state. Verify the app after sleep, roaming and network changes.
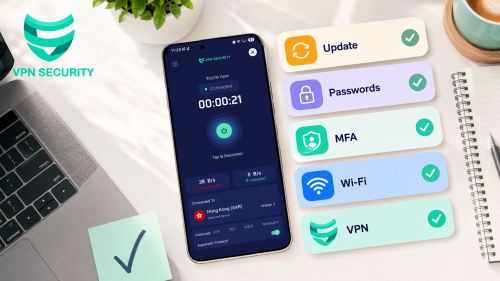
- Treating a VPN as total security. Keep devices updated, use unique passwords and enable multifactor authentication.
Limits you should understand
Resolver names may belong to hosting or delivery partners, so a unfamiliar brand alone does not prove a leak. Look at the full before-and-after pattern.
A trustworthy setup is transparent about these boundaries. If an app behaves differently after connection, test a nearby server, switch protocol, restart the affected app and then compare again.
Frequently asked questions
Is DNS leak test necessary all the time?
Use it whenever the network is untrusted or you want the VPN’s privacy layer. On a trusted home network, whether to leave it connected depends on your priorities and performance.
Can DNS leak test make me completely anonymous?
No. A VPN changes the network path and visible IP address, but websites can still recognize signed-in accounts, cookies, browser characteristics and information you submit.
How do I know it is working?
Check the app shows Connected, compare your public IP before and after, and run a DNS test. Repeat after changing networks or major system settings.
Which server should I choose?
For general use, start with a nearby server for lower latency. Choose a different location only when you have a specific, lawful reason and the service you use permits it.
Bottom line
A DNS leak happens when domain-name lookups bypass the VPN’s intended DNS path. Testing compares the DNS servers visible before and after connection and checks whether unexpected ISP or local-network resolvers remain. Start with the simplest configuration, verify the result, and change only the setting tied to the problem you are solving.
Get started with VPN Security or review the device-specific setup guide before connecting. VPN Security supports major desktop and mobile platforms, so one account can fit a multi-device routine.